Last Christmas I decided to make my nieces and nephews dress up clothes for their gifts. For the girls I made Cinderella dresses and a Pirate and Woody (from Toy Story) for the boys. The gifts went over well, thank goodness since I was sewing day and night for two weeks to get them in the mail in time for Christmas. My sisters both live in another province and we don’t get to see them much. Because of the distance I am not up on what toys they have or want. By making the gifts I was certain to give them something that they wouldn’t have and hopeful they would remember past January.
My youngest niece’s birthday is coming up in a couple weeks so I decided that I would make her a rag doll for her birthday. A couple years ago Martha Stewart had a segment on making ragdolls from by Black Apple on the show, I used that design as a jumping off spot for making my niece’s doll. You can find the original pattern and instructions on Martha Stewart’s website.
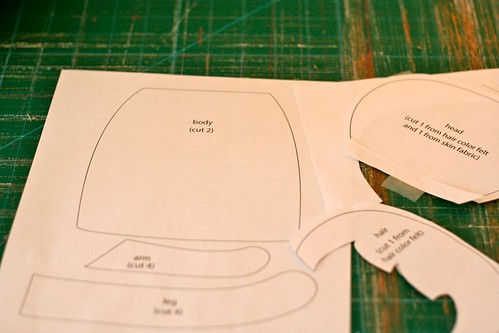
I increased the size of the doll to 155% and here are PDF of the pattern at the increased size, Black Apple Doll enlarged Head and Black Apple Doll enlarged Body and Legs. This pattern is not mine and is for personal use only not for commercial use.
My niece is fond of monkeys so I decided to use some of my sock monkey fabric scraps for the dress. I made the hair brown and added an embroidered applique of her name on the dress.
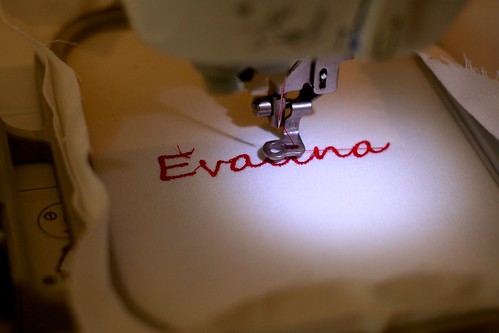
The Black Apple tutorial has you draw the face on the doll, you could hand embroider the face, or do as I did embroider the face on with an embroidery machine. I recently purchased an embroidery/sewing machine and have looked for any chance to embroider something. I do have the embroidery file available at my Etsy store.
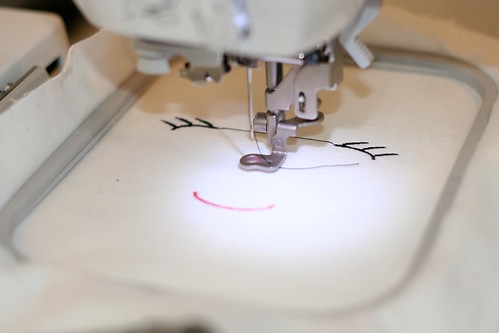
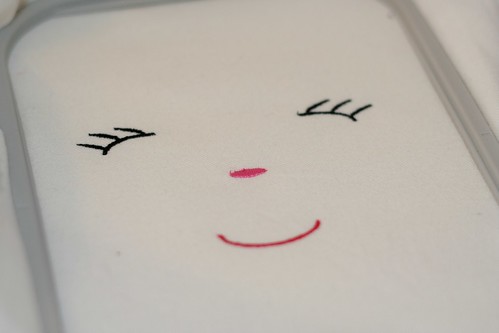
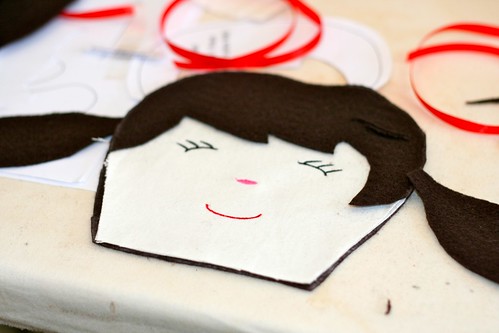
I adjusted the pattern to fit the face, the hair was made slightly larger to fit the face. I also needed to adjust the pattern for the dress to attach to the face and hair properly.
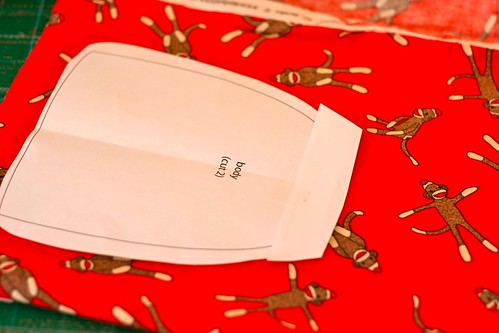
Once I had cut out the head, hair, dress, arms and legs I laid out the pieces to see how they fit together and to check to see if I needed to make any adjustments.
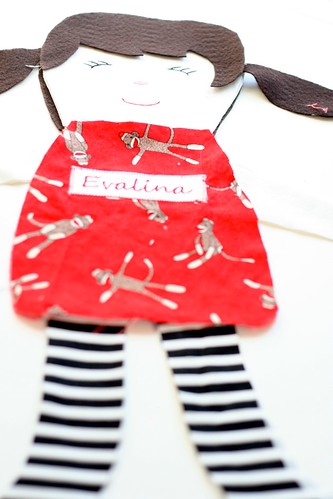
I then began to put the doll together starting with top stitching the hair to the face. You then attach the front head to the front body and repeat with the back pieces and sew the arms and legs together leaving the top open to stuff. With right sides together pin stuffed arms and legs between the front and back. Make sure a little bit of the ends of the legs and arms are sticking out so you are sure to enclose the ends with the stitches, and leave a space unstitched so you can flip the doll right side out. Stuff the head and body of the doll and stitch up the opening.
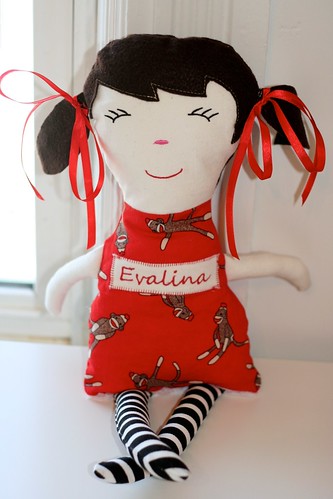
The dolls are easy to make and personalize and make a great gift that will hopefully be cherished for years. Check the Martha Stewart’s website out for more complete instructions with pictures.
This post may contain affiliate links. Meaning, that if you make a purchase through my links, I will earn a small commission at no additional cost to you. Thank you for your support of this site.


